Installing a Porcelain Patio Properly
Steps for a perfect Porcelain Patio
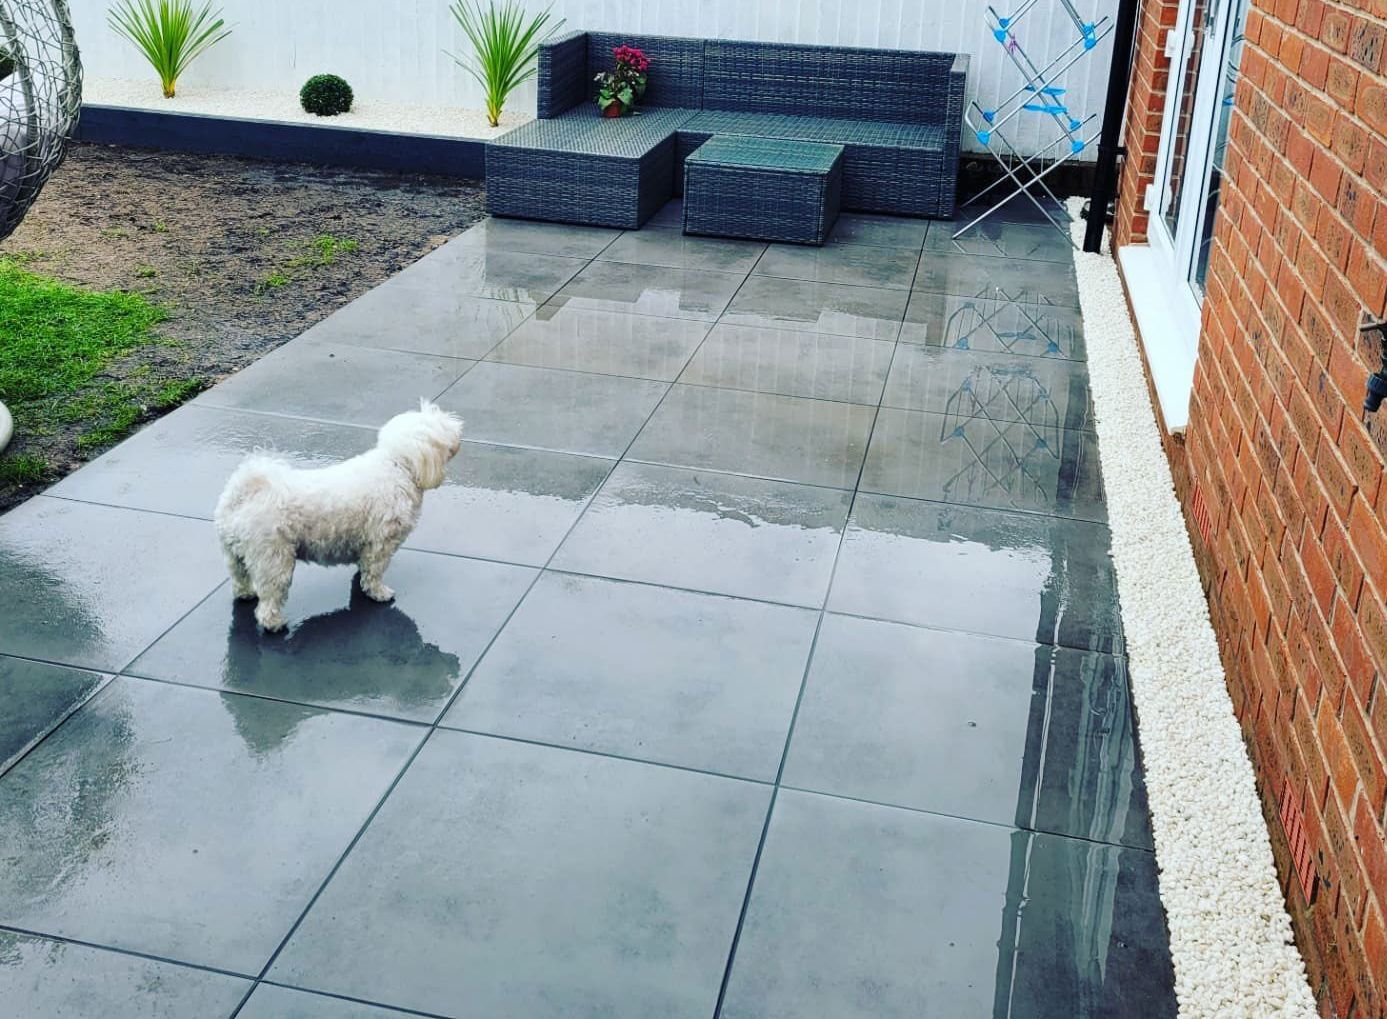
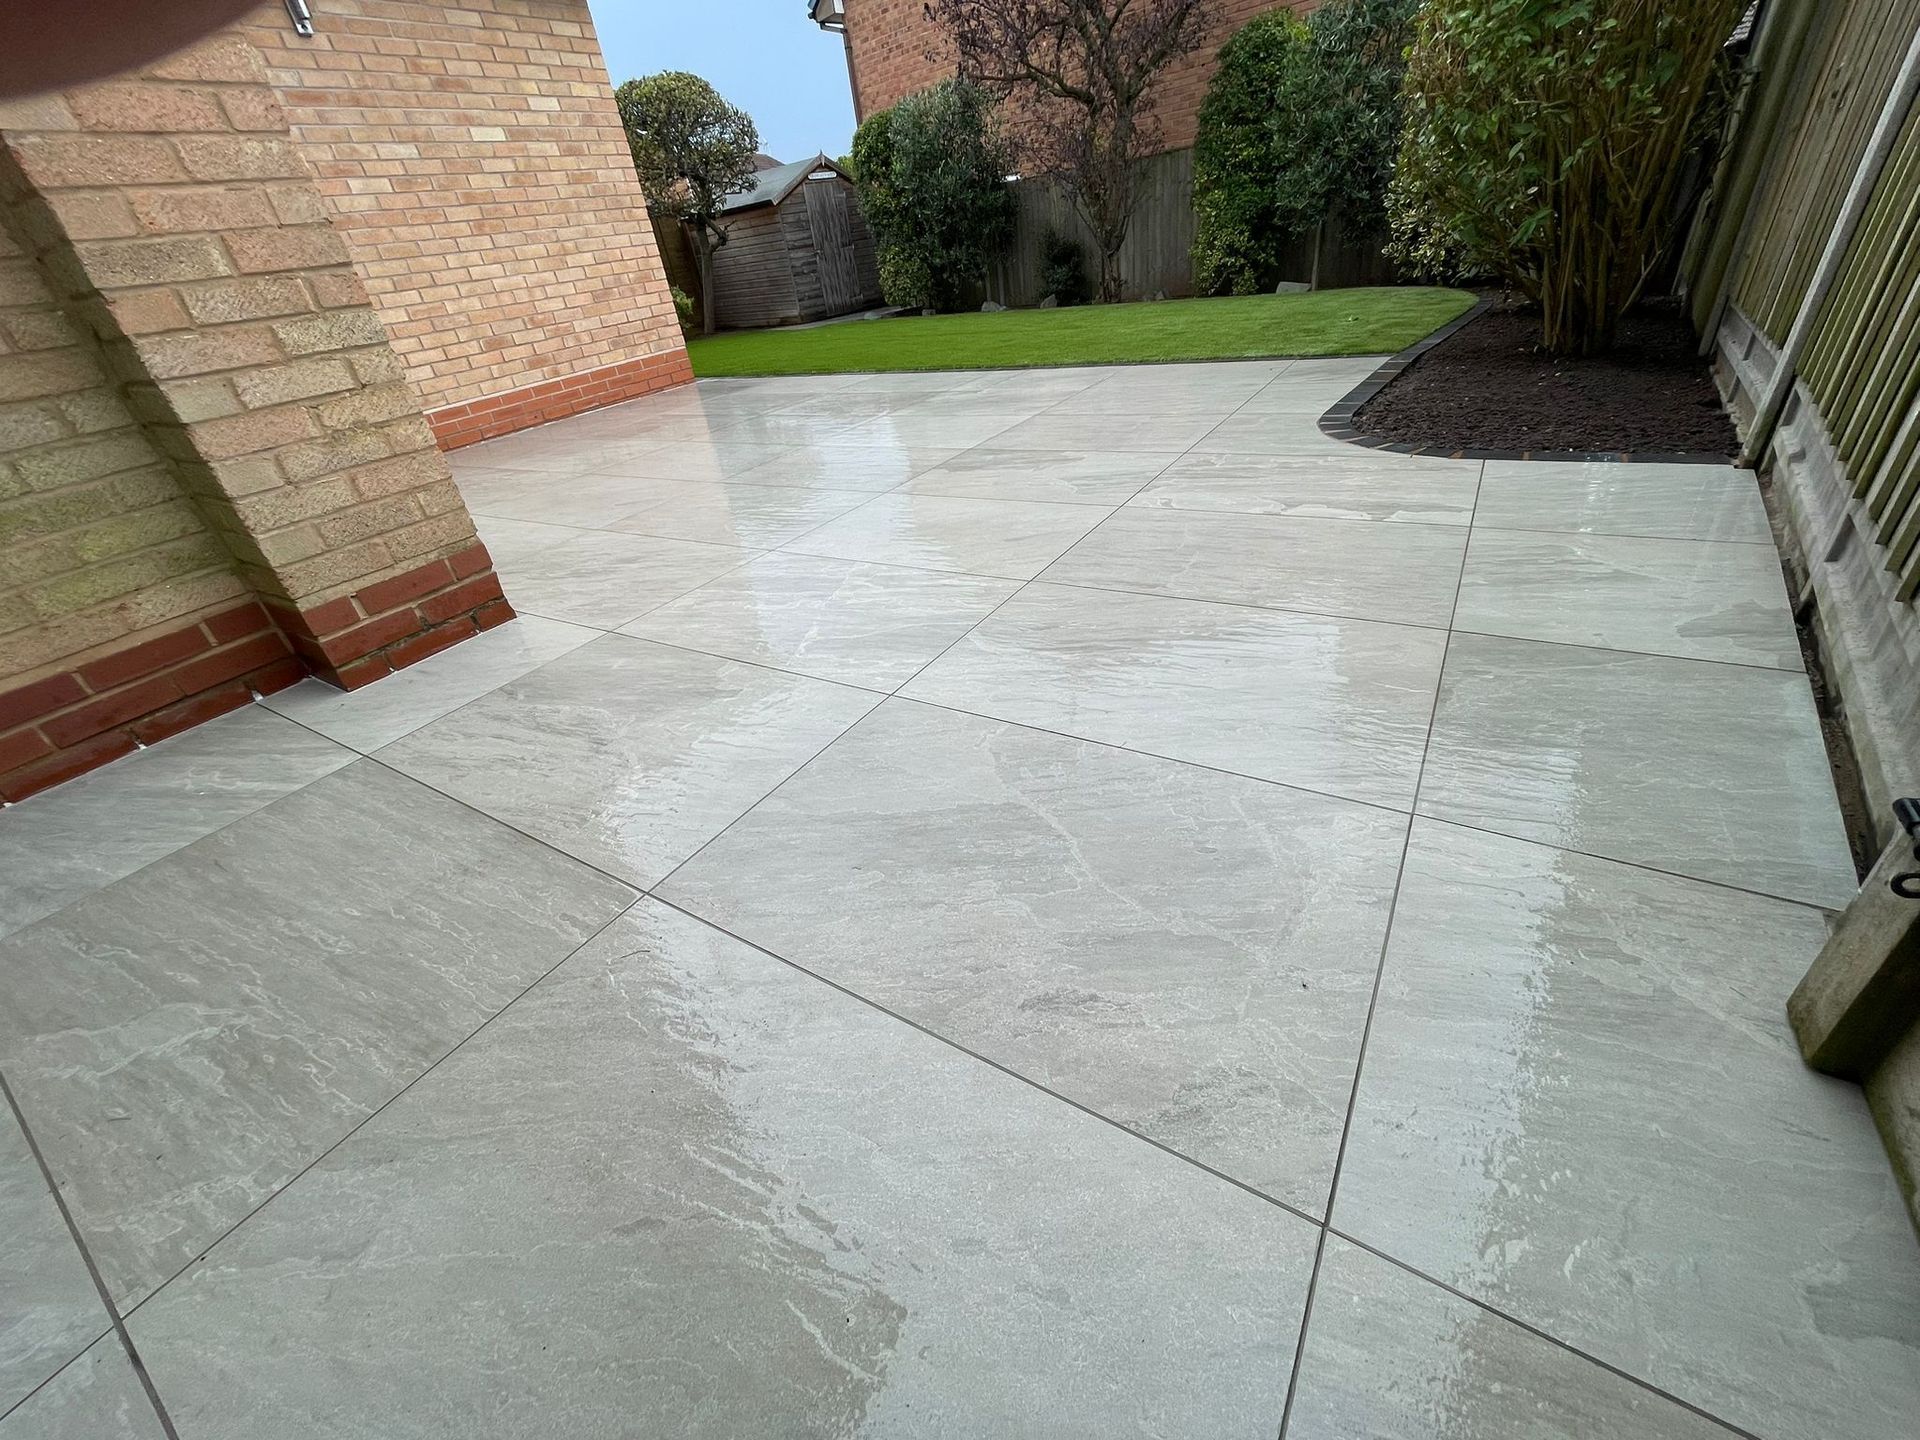
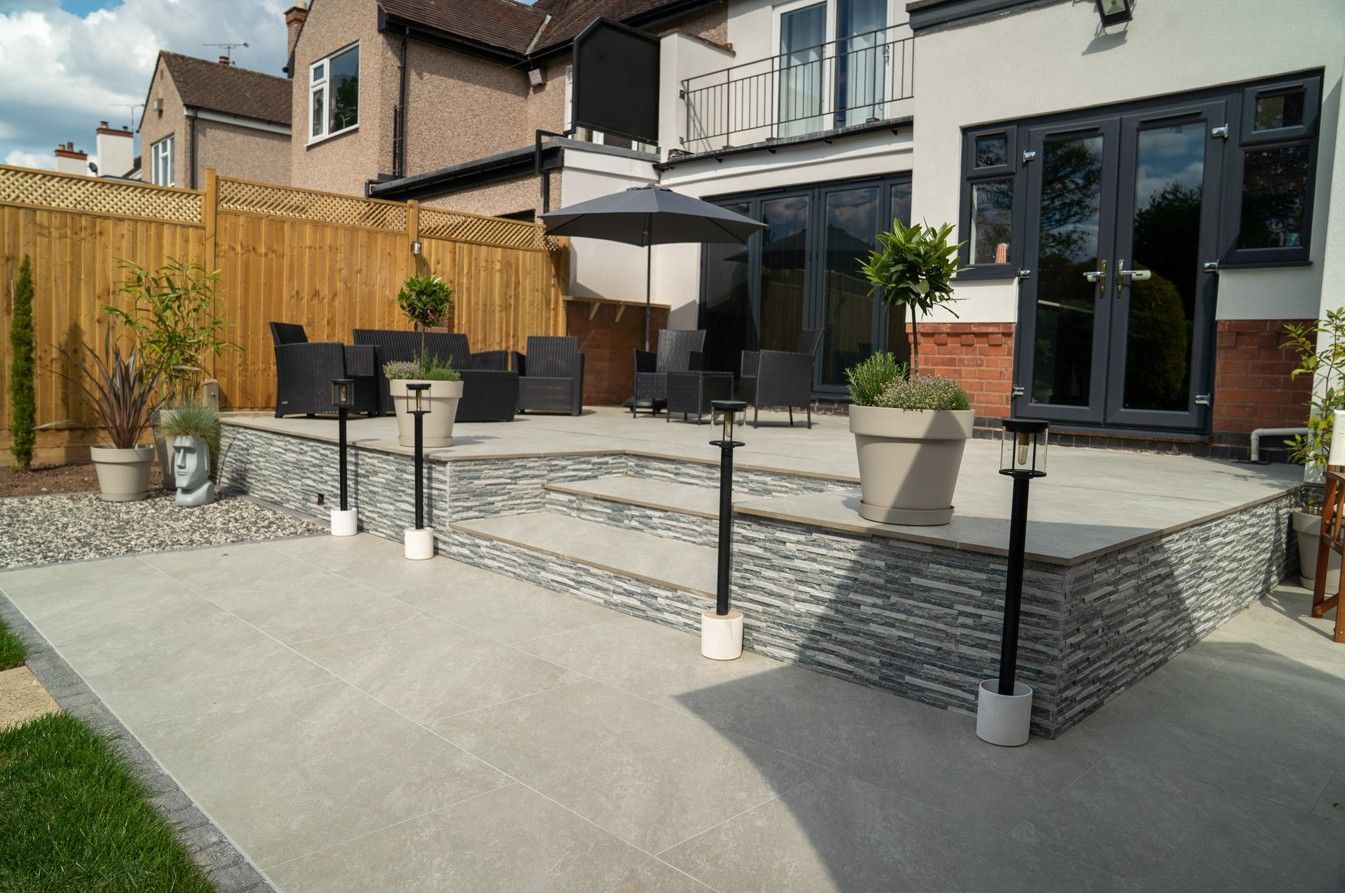
When it comes to creating a beautiful and functional outdoor space, a porcelain patio can be a fantastic choice. At DNA Lanscapes we are getting more requests to install Porcelain tiles as they are not only durable and low-maintenance, but they also come in a wide variety of colors, textures, and sizes to suit any style preference.
However, as the porosity of porcelain differs to other types of stone pavers to ensure that your porcelain patio is perfectly fitted and will last for years to come, it's important to follow these proper steps:
1. Plan and Design Your Patio Layout
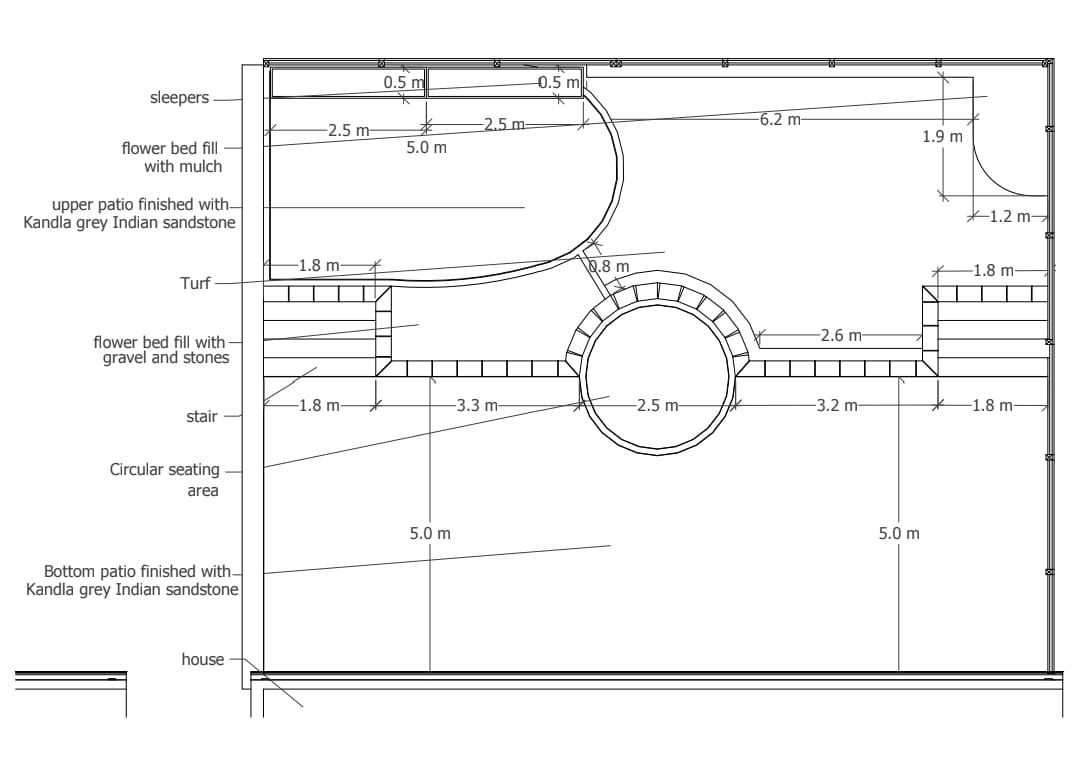
Before starting any installation work, it's important to carefully plan and design your patio layout. We will discuss with you the size and shape of the space, as well as any existing features such as doorways, steps, or landscaping elements. We'll then take accurate measurements and create a detailed plan to ensure that the tiles are properly spaced and aligned.
2. Prepare the Substrate
Properly preparing the substrate is crucial for a successful porcelain patio installation. We make sure the ground is level and compacted to prevent any shifting or settlement over time. We remove any existing grass, weeds, or debris, and will often add another layer of gravel or sand for proper drainage.
3. Choose High-Quality Porcelain Tiles
When selecting porcelain tiles for your patio, be sure to choose high-quality tiles that are designed for outdoor use, we will advise on this to ensure that you have, and we install tiles to last. Tile features that are frost-proof, slip-resistant, and capable of withstanding the elements are crucial for longevity. The aesthetic elements such as size, colour, and texture of the tiles should then be chosen to complement your outdoor space.
4. Install the Porcelain Tiles
We start by laying out the tiles in your desired pattern before applying any adhesive. We Use a high-quality adhesive specifically designed for outdoor porcelain tiles, and make sure to follow the manufacturer's instructions for mixing and application. We use spacers to ensure even spacing between the tiles, and use a tile cutter to make any necessary cuts for a perfect fit. Cheap or incorrect adhesive will not provide a secure fix when using porcelain.
5. Grout and Seal the Tiles
Once the tiles are in place, it's important to grout the joints to secure the tiles and prevent water penetration. We use a high-quality, weather-resistant grout that matches the colour of your tiles. After the grout has dried, we apply a sealant to protect the tiles from stains, moisture, and other outdoor elements.
6. Regular Maintenance
As part of our customer service we always provide tips to keep your porcelain patio looking its best, be sure to regularly clean and maintain the tiles. Sweep or rinse off any dirt, leaves, or other debris, and consider using a mild detergent or specialized porcelain cleaner for tough stains. Inspect the tiles regularly for any damage or signs of wear.
By following these proper steps, we and you can ensure that your porcelain patio is perfectly fitted and will provide a beautiful and functional outdoor space for years to come. With the right planning, materials, and maintenance, your porcelain patio can be a stunning addition to your garden area.
